

I Like Big Prints And I Cannot Lie...
also, I'd like them to print faster. So let's figure that out, OK?

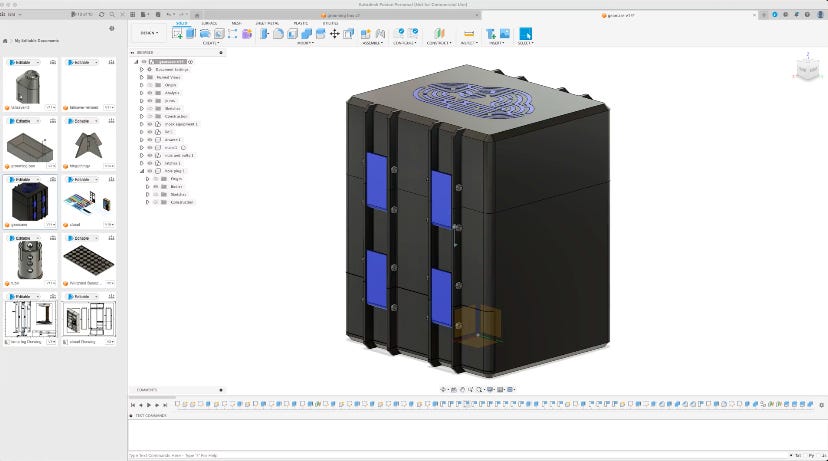
Hey everyone! If you’re into 3D printing, you know the struggle of wanting to speed up those print times without messing up the quality. Recently, I decided to experiment with a 0.6mm nozzle on my Bamboo Lab printer to see if I could get faster prints. I ended up designing a custom box for my camera gear, and I’m excited to share the whole process with you—from design to final assembly.
Designing to Fit My Stuff… and My Printer
First off, the design. I needed a box that would organize all my camera equipment and fit perfectly on my printer’s print bed. My Bamboo Lab printer has a specific print area, so I had to make sure the dimensions of the box would fit within those limits. The box needed to include a large compartment for the equipment, a drawer for smaller items, and a removable lid with hinge clips to keep everything secure.
Mocking Up with a Different Project
Before jumping into the main project, I ran a few tests with smaller prints. I had previously printed another small rectangle for something completely different, but it was the size of the print bed. This print turned out to be the perfect mockup to help me plan the placement of my camera equipment. I arranged my gear in the mockup to visualize the layout and make sure everything would fit as intended.
Here’s a picture of that mockup:

In the image, you can see a blue 3D-printed box holding various camera equipment. This includes a tripod, a camera, a charger, and some cables. The box is designed to fit all these items snugly and keep them organized, making it a great prototype for planning the final design. The mockup helped me ensure that the dimensions were right and that the final product would meet my needs.
Making the Clips
The hinge clips were a crucial part of the design. They needed to snap securely to hold the lid and drawer in place. Using the 0.6mm nozzle, I printed the clips and was really happy with the results. The clips maintained their integrity and worked perfectly, proving that the larger nozzle could handle detailed parts with the right settings.

The 0.6mm Nozzle: Worth It?
One big question was whether the 0.6mm nozzle was worth it. The print times were definitely faster, but not by the 50% I had hoped for. The reality is more complex—cooling time, layer adhesion, and printer mechanics all affect actual print speed. Despite not achieving a 50% increase, the nozzle offered significant time savings without compromising print quality. For most projects, the slight trade-off in resolution was barely noticeable, making the nozzle a solid upgrade for faster printing.
I Really Don’t Understand Why It’s Not 50% Faster
So, why isn’t it 50% faster if the nozzle is 50% larger? It turns out that factors like cooling time, layer adhesion, and the mechanics of the printer itself play a role. Plus, maintaining print quality means you can’t just crank up the speed without running into issues like warping or stringing. The 0.6mm nozzle is definitely faster, but the speed gains are more modest than you might expect.
Choosing Foam
To keep my camera equipment safe, I needed the right foam for the box’s interior. I ended up using high-density packing foam, which worked pretty well for holding everything in place. However, cutting this foam turned out to be messier than I anticipated. Bits of foam ended up everywhere, and getting clean edges was a bit of a challenge.
If you're planning to create a similar setup, you might want to explore other materials that could be easier to work with and produce cleaner results. Here are a few recommendations:
EVA Foam Sheets: EVA foam is known for its smooth cutting properties and clean edges. It's often used in cosplay and crafting projects, making it a versatile option for custom inserts.
Polyethylene Foam: This type of foam is denser and more durable than standard packing foam. It's often used in protective packaging and can be cut cleanly with sharp blades.
Foam Core Board: While not as flexible as other foams, foam core board offers sturdy support and can be easily cut to shape. It's ideal for creating rigid compartments.
Kaizen Foam: Specifically designed for tool organization, Kaizen foam consists of layered foam that you can peel away to create custom shapes. It’s a bit more expensive but offers excellent precision and a professional look.
For this project, while the foam I used did the job, exploring these other materials might save you some cleanup time and provide a neater finish.
Cutting Foam
Cutting the foam to fit the custom design was tricky. I read about using an electric knife, but it seemed too bulky for precision cuts. Then I found a super helpful video that suggested using a hacksaw blade, which turned out to be a game-changer. You can check out the video here. The hacksaw blade gave me clean cuts, and the key was to keep the blade moving steadily to avoid tearing. I started by cutting the foam into strips to fit inside the box, then used the hacksaw blade for straight cuts and a small saw for detailed work. This involved tracing the equipment outlines, making initial cuts, and adjusting to ensure a snug fit. Here’s the saw I used and a similar product on Amazon.
Last-Minute Design Changes
Like any project, there were some last-minute design changes. I hadn’t planned to include a charging solution in the box, but it quickly became apparent that a built-in charging system would be super handy. I added a USB charging brick with multiple ports and ran a power cord through the foam and out the back of the box. This addition turned the box into a multifunctional storage and charging station.
Conclusion
Switching to a 0.6mm nozzle on my Bamboo Lab printer was a fun experiment that taught me a lot about balancing print speed and quality. While the speed increase wasn’t as dramatic as I’d hoped, the time savings were still substantial, and the print quality remained high. The custom camera equipment box turned out great, serving as both a storage solution and a charging station.
If you’re considering a nozzle upgrade, I’d recommend giving the 0.6mm a try, especially if you want to speed up your prints without sacrificing too much detail. And for those tackling similar projects, take the time to choose the right materials and tools—it makes all the difference in the final product. Here are the bolts and nuts I used for assembling the clips.
For anyone interested in making this camera equipment box, you can find the STLs on Makerworld here.
Thanks for following along, and I hope this post inspires you to experiment with your 3D printing setup. Happy printing!