Everything you need to know about Homebrew
Want to learn about Homebrew, the missing package manager for MacOS? This is the article for you.
If you’re here, you probably want to learn more about HomeBrew. What the heck is Homebrew, what does it do, how do you install it? Well, let’s get into it and answer all those questions!
What is Homebrew?
According to the Homebrew website at https://brew.sh/ homebrew is “The Missing Package Manager for macOS (or Linux)”, but what the heck does that mean? Virtually all flavors of Linux have some sort of built-in package manager for installing applications. Ubuntu has apt, Red Hat Enterprise Linux has yum, etc. Well, macOS is kinda like Linux right? But it only has the app store. While the app store is great for installing apps with fancy UIs and such, it’s lacking pretty heavily in pretty much anything else. To add to that, App Store apps have to be created in XCode and are rarely ever open-source tools that you find on Github.
So… that's where Homebrew comes in. Most of the packages you will find on homebrew can usually also be found in other places like Github. Heck, there are usually even other ways to install them, like downloading the binary file directly. Homebrew just makes installing stuff easier.
That’s enough with the chitchat. Let’s install Homebrew
How Do You Install Homebrew?
Installing homebrew is super easy.
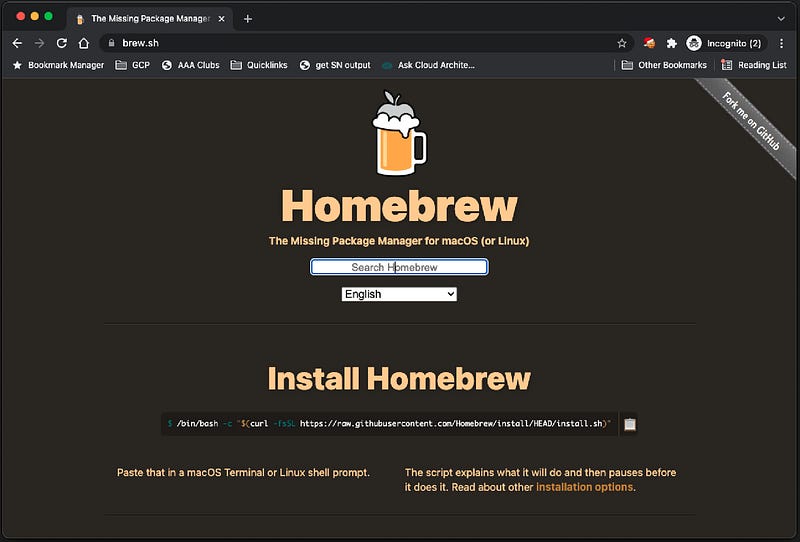
First, head over to the Homebrew website and copy the one-line command, or just copy it here:
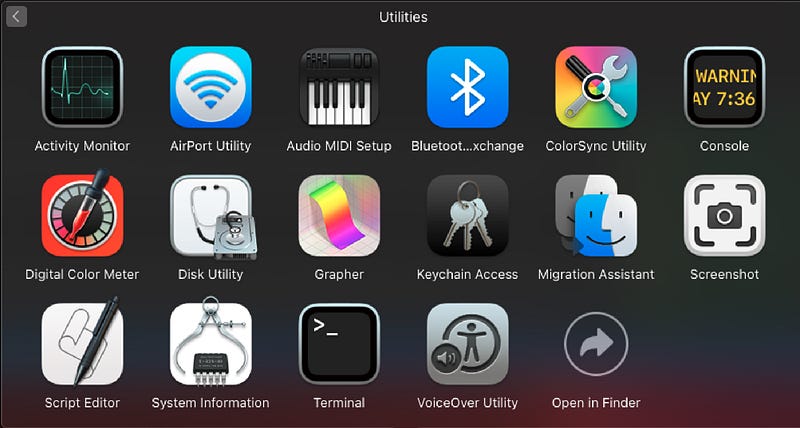
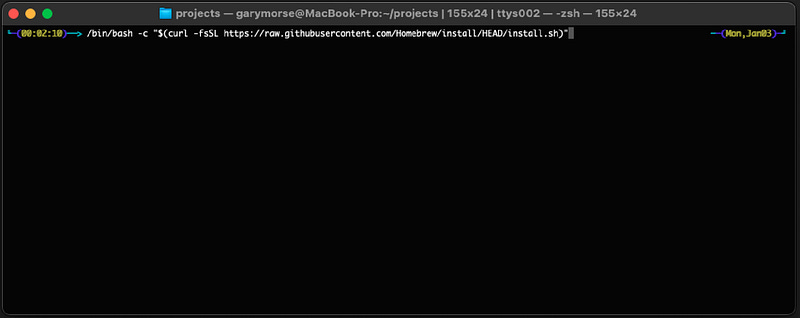
/bin/bash -c "$(curl -fsSL https://raw.githubusercontent.com/Homebrew/install/HEAD/install.sh)"Next, on your Mac, open up the terminal. You can find terminal at: Applications -> utilities -> terminal.
Finally, paste that command from above, hit enter, and watch the magic happen.
Note: If this is your first time installing anything like this, you may get a few prompts to install some other stuff. (because everything requires something else, right?). You may need to go to the app store and install XCode (it's free), just to get some necessary dependencies. You may also be asked to run xcode-select –install. All of this is completely normal. Just follow the steps and you are all set.
Now I have Homebrew. Now what?
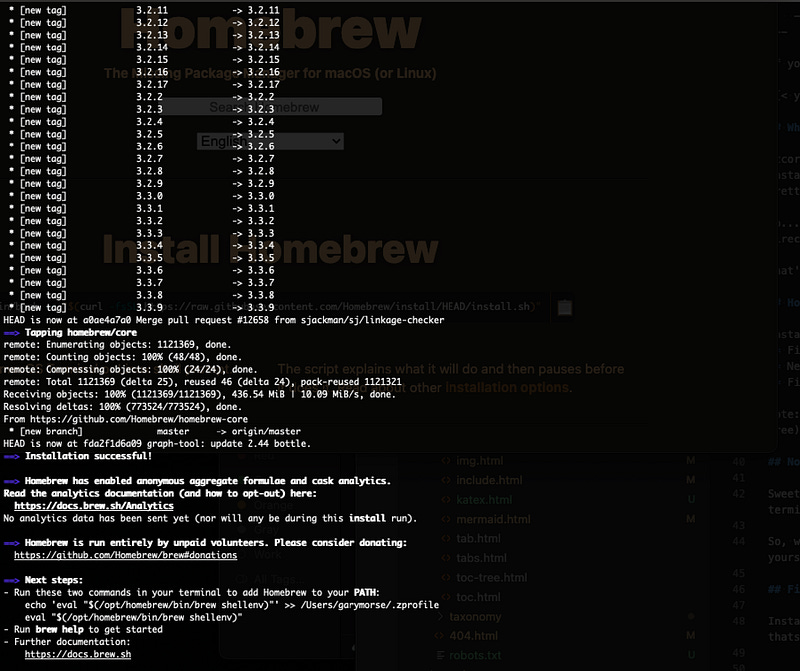
Sweet. Now you have all that Homebrew goodness. But, before you go too far, read the instructions about adding homebrew to your PATH. you will see two commands you need to run in the terminal that will ensure when you type brew, the terminal actually knows what to do. Run those two commands and now you are ready to do some installing.
So, what to install? Well, that's up to you! I’m sure that as you browse around through open source projects you’ll find plenty of installation instructions that include an option to install with Homebrew. That’s kinda the point. Save yourself some time reading through the custom installation instruction and just simply run brew install WHATEVER then you are all set!
If you’re curious, you can see everything you’ve installed with homebrew by running the following command brew list
Final Thoughts
Installing things with Homebrew will save you a ton of time, but this really just scratching the surface. In the future when you create your own cool application, you can package it up so it can also be installed with homebrew. But, that's a topic for another time.
UPDATE: Read how to create your own HomeBrew applications in the article below!
Create a Custom CLI Tool and Distribute with HomeBrew Using Goreleaser and Github Actions
A step-by-step coding tutorial for creating your next CLI tool and sharing it with the world. It’s easier than you…blog.devgenius.io


