How To Turn Your Old Hardware Into A Kubernetes Cluster
Today I’m going to show you how to set up Kubernetes on an old computer that you may have sitting around.
Today I’m going to show you how to set up Kubernetes on an old computer that you may have sitting around.
While setting up something like Kubernetes may seem complicated, It’s a surprisingly easy process once you have the steps and the right software to get it done fast. I think it’s the best choice when it comes to setting up a home server since you can add and remove applications without worrying about messing up the underlying operating system of the machine.
So let’s jump in and roll through the steps.
No matter what kind of machine you are using, you’ll need some basics to get started so make sure you have the following handy.
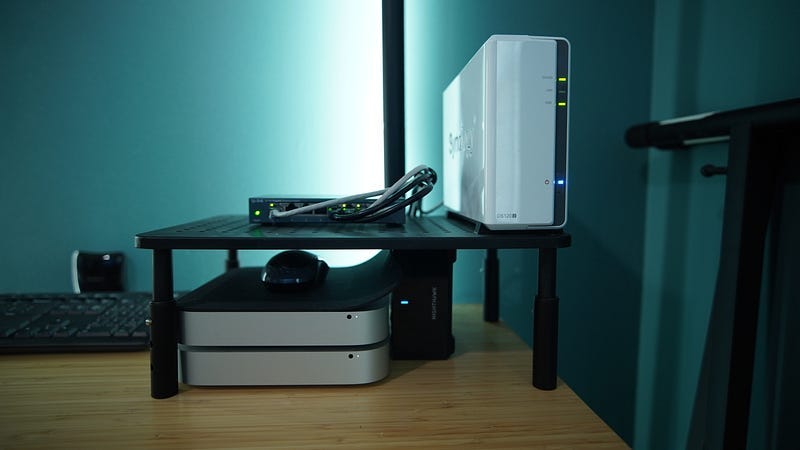
The computer itself. I’m using an older Mac mini, but any computer will work.
A basic USB flash drive. You will need this to house the software we are going to install.
A network cable. Fiddling with Wi-Fi setup is a pain, so it’s best to just wire the computer to the network at least initially.
A mouse and keyboard that is either wired or has a dedicated dongle. Bluetooth probably won’t work initially, so this is a must-have.
Once you have all your supplies together, grab the USB flash drive and plug it into a different, working computer. Not the one we are about to erase. As you can see here, I’m using a very small 4 GB flash drive. It doesn’t take much.
Now on your working computer, we will need to download a few things. First Is a copy of Ubuntu server. Head over to the Ubuntu website and download the latest version of Ubuntu server.
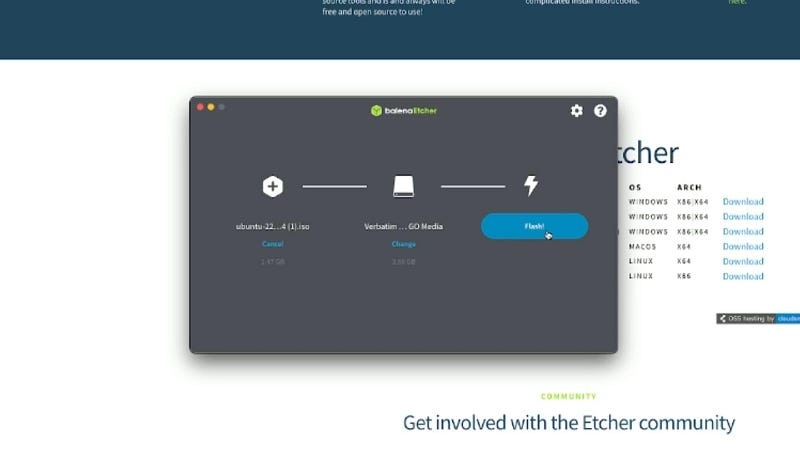
After that’s finished, we will also need a program for flashing the Ubuntu image onto the flash drive. I used a program called etcher, and it’s available for both Mac and Windows. Head over to their website and download the program and install it.
After downloading those two things, open up Etcher and choose the “flash from file” option. The file picker will open, and you should choose the Ubuntu ISO file that you downloaded earlier.
In the next column set the target as your flash drive then hit the “flash button”. This will turn your flash drive into a bootable Ubuntu installer. After it's finished, eject the flash drive and unplug it from your working computer.
That’s all we need to do for now on your working computer. Now let’s shift focus over to the old machine that we’re going to install Kubernetes on.
Temporarily we are going to need to wire up this computer with a mouse, keyboard, and monitor. Also, plug in the network cable and your USB flash drive.
One quick note if you are doing this setup on a Mac mini: make sure to plug the keyboard into the leftmost USB port. Otherwise, the mac won’t recognize the keyboard during its boot sequence. Ask me how I know that!
Once you get everything plugged in you need to get the machine to boot from the flash disk. The process to make this happen varies by machine. Some will automatically detect the boot disk and prompt you. Some will require that hit an F key at startup. In the case of this Mac mini, I had to hold the Alt key on my keyboard to get the boot menu.
No matter which one you have to do, just make sure you tell the machine to boot from the flash drive. Once you do that you should see this simple prompt asking you what you want to do. Choose the option to install Ubuntu server and hit enter.
At this point, it spits out a bunch of text as it first starts. This process takes a few minutes. After all of that’s done, you’ll get the Ubuntu server welcome screen, and you’ll need to provide some details.
Fair warning, I’m about to roll through 15 short, but required steps for this setup. I’m going to do this as quickly as possible without leaving out the few important bits scattered through this otherwise pretty self-explanatory wizard. Eyes on the prize, we’ll get through it.
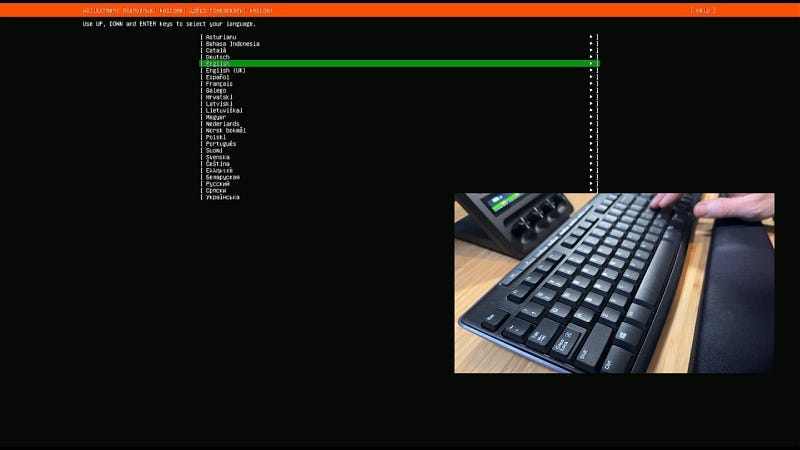
First, choose your language.
Next, it may ask you if you want to upgrade to the latest release. I skipped this for now. You can always do it later.
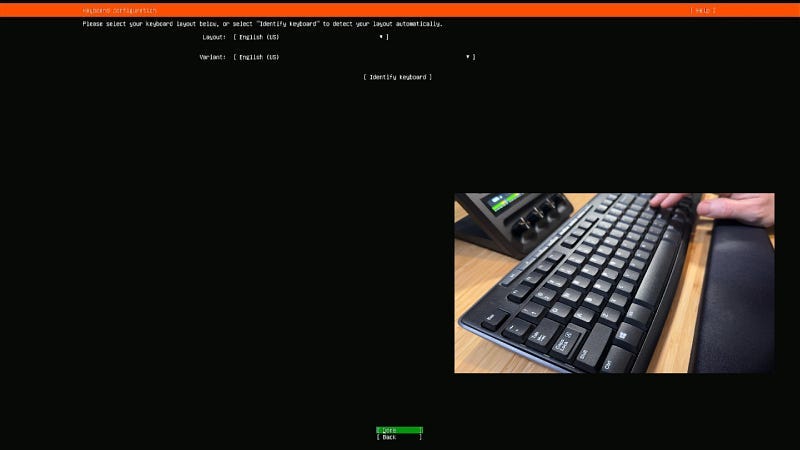
Next, configure your keyboard.
Next, it will ask what type of server install you want. Choose the minimized version unless you have a need to use this machine for other stuff.
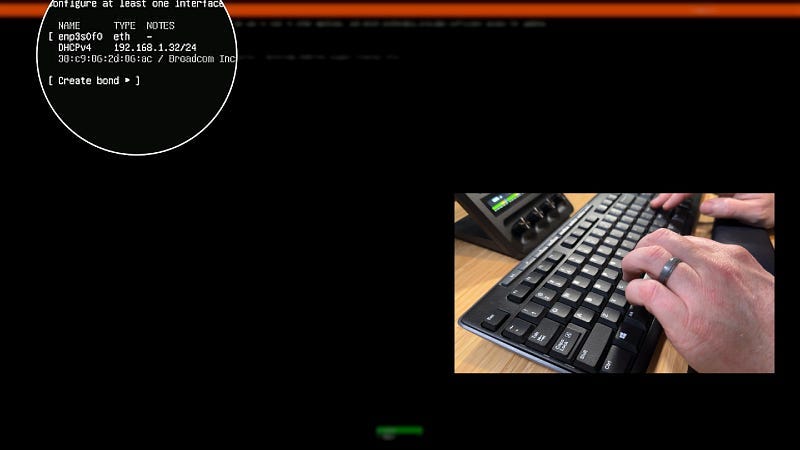
If all goes well it should automatically connect to the internet, and you can just hit enter. Before leaving this screen though, write down the IP address it was assigned. You’ll need this later.
Next, leave the proxy empty and hit enter.
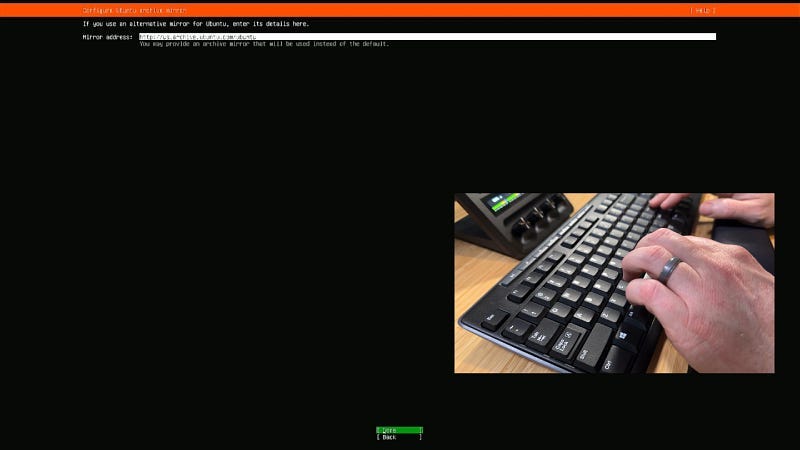
Next, leave the mirror address alone and hit enter.
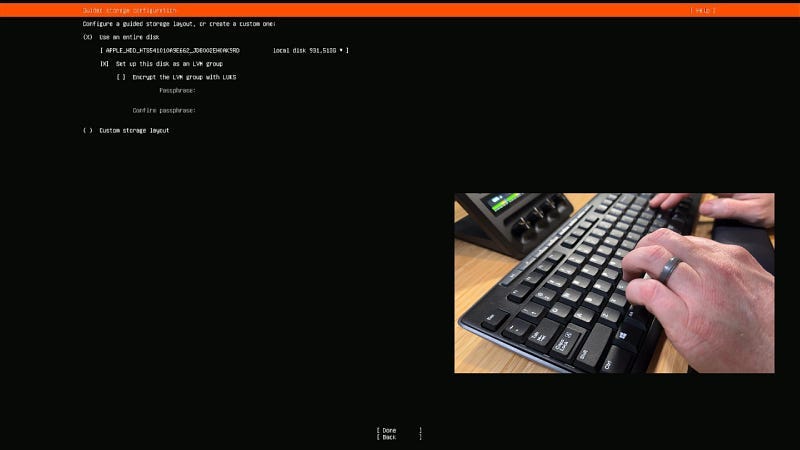
Next on the disk setup, I chose to use the entire disk and set the disk up as an LVM group. These are the defaults and they are fine.
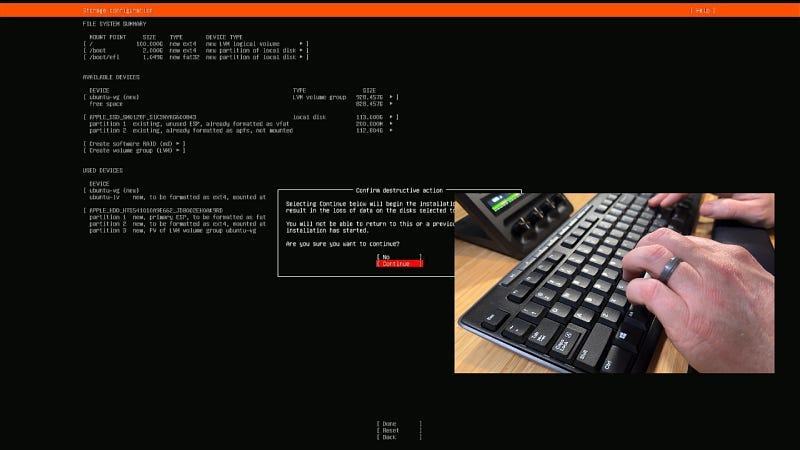
Finally, it will show a summary. Hit enter to confirm then hit enter one more time to extra confirm that you are cool with it blowing away your hard drive.
On the next screen set up your user info. Keep a note of your username and password. You might need it later.
Next skip the Ubuntu pro ad, unless you need enterprise support.
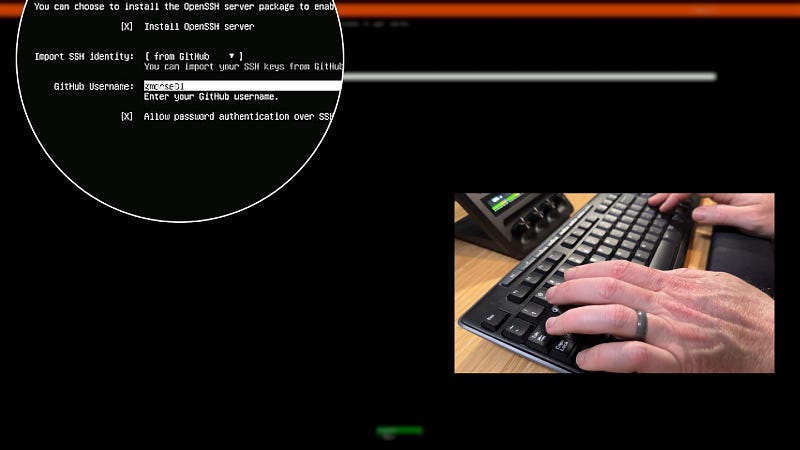
Next, enable the option to install OpenSSH server. This will allow you to access the machine remotely with no keyboard, mouse or monitor attached. Also on this screen, if you have a GitHub account with your public keys already stored, provide your GitHub username and the installer will pull them in as authorized keys for password-less access via SSH.
If you are at all concerned about this not working, also check the box to allow password auth over SSH. This will allow you to log in with the password you just set.
It will now pull your public key from GitHub and ask you to confirm.
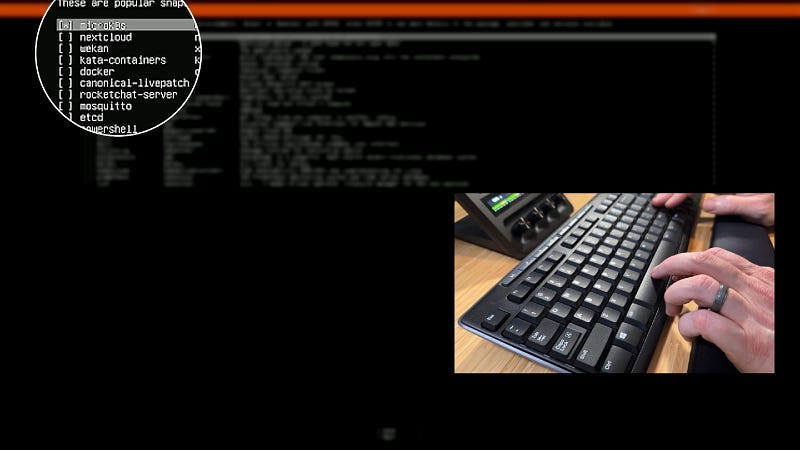
Now, for the actual installation of Kubernetes. It's literally one check box. Select the option to install Microk8s. This is Ubuntu’s super popular lightweight version of Kubernetes, and it’s what we will be installing. After checking the box, go to the next step.
Now we wait for the installation to finish…
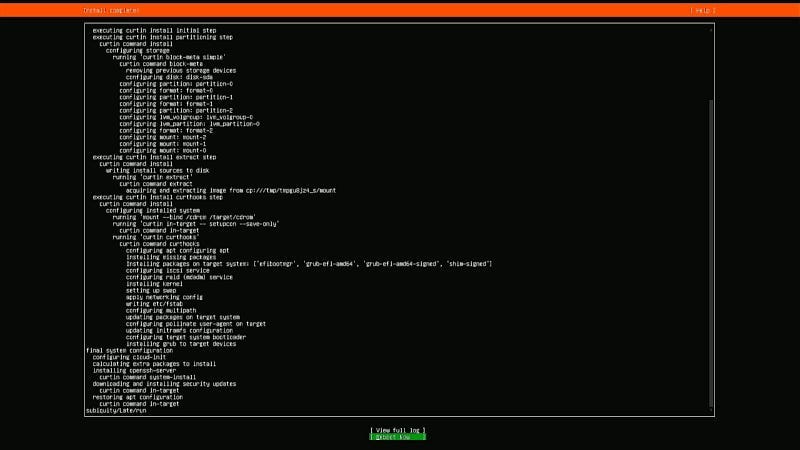
Don’t be like me and completely miss the text menu at the bottom of the screen. When it’s done, that menu will show an option to “reboot now”.
Note that if you Don’t take the flash drive out at this point it will probably yell at you. Take out the flash drive then reboot.
And just in case you thought you were done waiting, you’re wrong. Now it will install microk8s. After it's done it will show the login prompt.
Ok, now it’s done installing. You can shut the machine down and unplug all the unnecessary cables at this point and put your server in its final resting place. Then power it back on.
Ok, now we have a running Kubernetes server and there are only a couple more things to do before you can call it done.
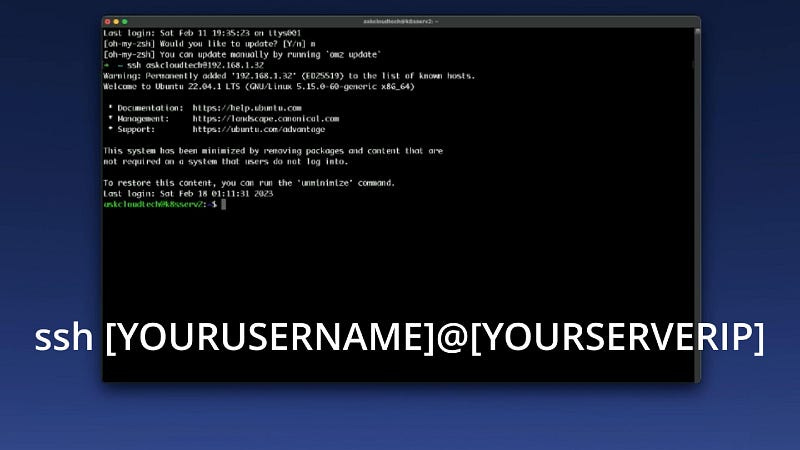
Now back at your working machine, open up a terminal, and attempt to SSH into the machine. Your ssh command should be.
ssh YOURUSERNAME@YOURSERVER_IP
If you chose earlier to import your public keys from GitHub it should just let you without a password. If it didn’t work, or you didn’t choose that option, you will need to enter your password at this point.
Now that we’ve confirmed we can connect to the server with SSH, you want to make sure that the IP address doesn’t change on you. Luckily most home routers these days have the ability to reserve an IP address and associate it with a specific mac address. On the screen is how I did this on my Netgear router, but every one is different. The important takeaway here is that you make sure the IP address of your server won’t change when you lose power or restart your router. This will be important when you begin to use the cluster and need to reach it by IP address.
At this point, you have a working single-node Kubernetes cluster, but don’t bail on me yet. Now I’m going to show you how you can expand the capacity of your cluster by adding more machines. If you have two or three or four old machines lying around they could all work together as a single Kubernetes cluster.
And the best part is that it only takes a couple of commands to make that happen. So even if you don’t have another machine to add now, don’t you want to hang out to see how it’s done?
If you have another machine to add, you will need to do all the exact same steps to set up microk8s as we already did on the first one. The only difference will be the server name and the IP address. Everything else is exactly the same.
Once you have both machines running as standalone clusters, SSH into both of them.
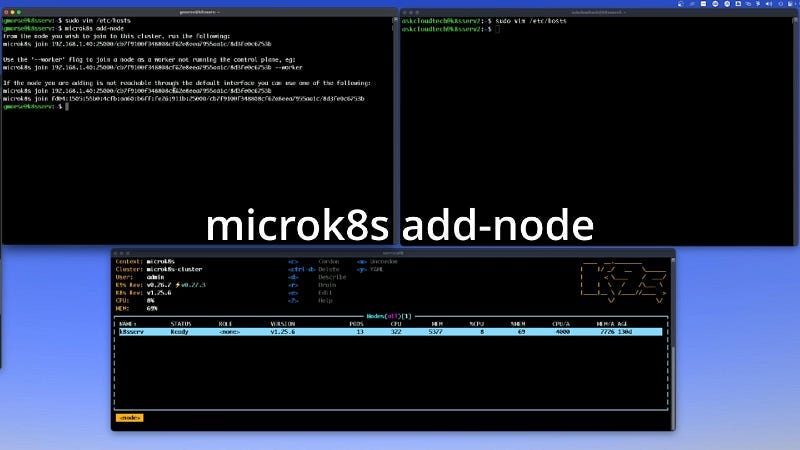
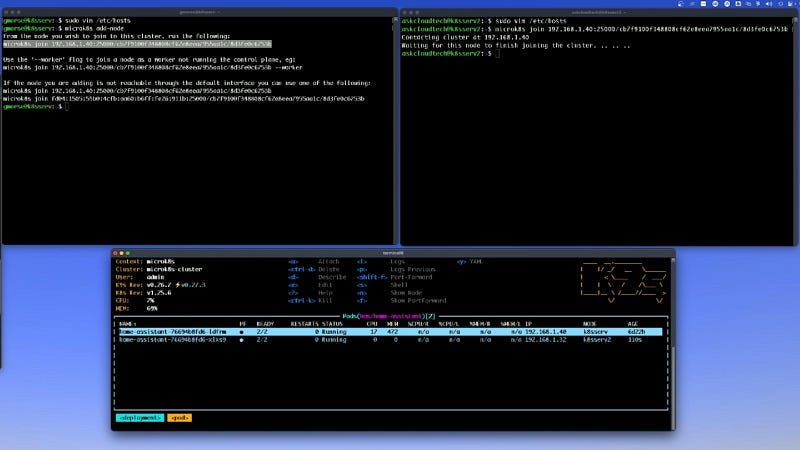
Below you are seeing the first machine’s terminal on the left, the second machine’s terminal on the right and finally my k9s Kubernetes dashboard at the bottom connected to the first machine. You will note that it only shows one node currently.
With vim or another text editor, open the /etc/hosts file on each machine.
On both machines, enter the IP address and the name of the second Kubernetes server. This is required so microk8s can complete the join.
save the /etc/hosts file on each machine and exit vim
now, on the first machine enter `microk8s add -node` and hit enter. It will give you the command you need to enter on the second machine.
Copy the command and paste it into the terminal of the second machine.
The system will now join the two machines. You can see in the bottom k9s window, the cluster now shows two nodes.
And for demonstration purposes, I’m going to scale my installation of Home Assistant to two replicas. You can see that it is now running one replica on each node with no issues at all.
Thanks for stopping by and until next time, happy coding.


