This is SO MUCH more than just a lamp to me
A memory that won't just sit on a shelf and collect dust
Hey, so this one is a little more personal. I’m going to talk about a lamp that I made and how I made it, but for me, this video and the lamp are a bit of closure. If you don’t care about the story, just skip down, but I need to write this.
My friend Brad passed away in 2022 (in the video I said “last year”, and this is the correction). I’ve known Brad since I think 5th grade if my memory serves. That’s a long time no matter how you measure it. The days after that moment in 2022 all just kinda happened really fast. It’s not like you really have a lot of time to reflect when everything is happening.
One thing that happens when someone close to you dies is something I don’t think a lot of people talk about. If this hasn’t happened to you yet, it will at some point. What I’m talking about is the part that extended family and distant friends don’t see. I’m talking about the cleanup.
Someone has to take care of what a person leaves behind. Package up the worldly possessions, sell the house, claim the house plants. It SUCKS. And in this case, I was one of the people involved in this experience with Brad’s stuff.
Again, at the time my brain wasn’t exactly at its highest capacity. Brad’s brother said, “if there’s anything you want, please take it”. I really don’t know why, but I was drawn to Brad’s computer. If you watched the video above, it’s not like I actually had any use for this computer. I gave it to him (maybe I sold it to him, I don’t remember) a few years earlier and for some reason I just grabbed it. I may have initially thought I was just going to delete it so some stranger didn’t end up with the drive’s contents, but it sat in my closet for months after those few days.
The ring, on the other hand, was not my idea. My friend Neal (we were like a band of brothers) called me and said he was thinking about getting a ring made from a coin that was in Brad’s coin collection. I thought that was a cool idea so we both picked out a coin and individually sent our coins away to Silver State Foundry to get them turned into rings.
Anyways, if you watched the video you already know this part of the story.
So… for the few who will end up reading this, it’s important to understand that I didn’t set out to make a lamp and decided to use these parts. I set out trying to make a memory using these parts and ended up with a lamp. I know I will use this every day. I know it will remain a permanent part of my office. I know it won’t just end up like every other “memory” that finally goes in a box of things you can’t throw away because you would feel terrible doing it.
OK, now I think I can talk about actually making this lamp.
Mac Mini Lamp Shade?
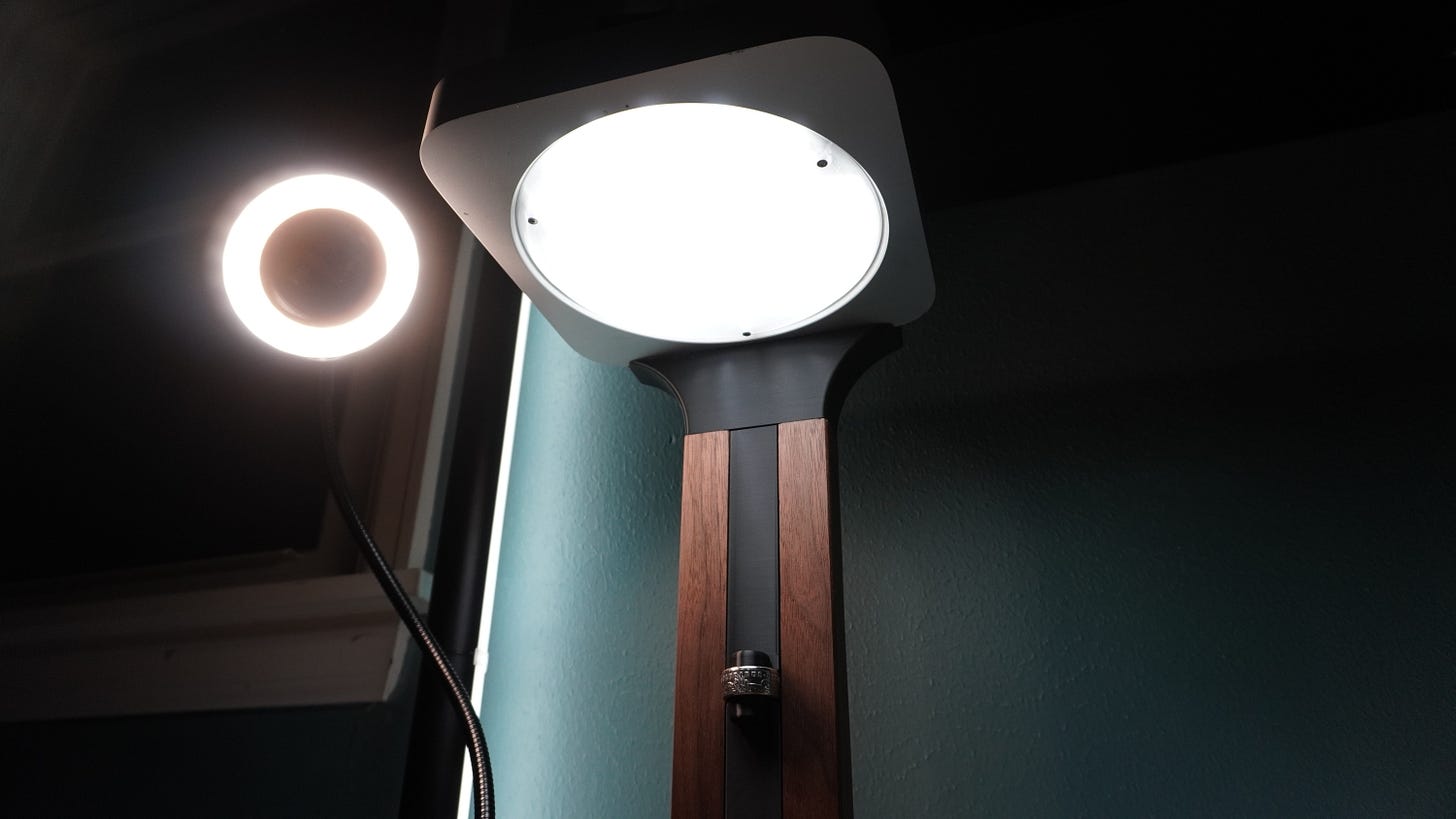
What does someone do with an old Mac Mini that isn’t good for computing anymore? Well, this seemed like a pretty good use. I just disassembled this thing by undoing all the screws and eventually pulling apart the pieces that were glued in place. It’s amazing how many computers are glued together. This is no different.
One thing you might not notice in the video is that the little hole for the power light still shines when you turn on the lamp. I hoped that would be the case when I was done, but had no idea if it was more complex than just a pinhole. luckily that’s all it was.
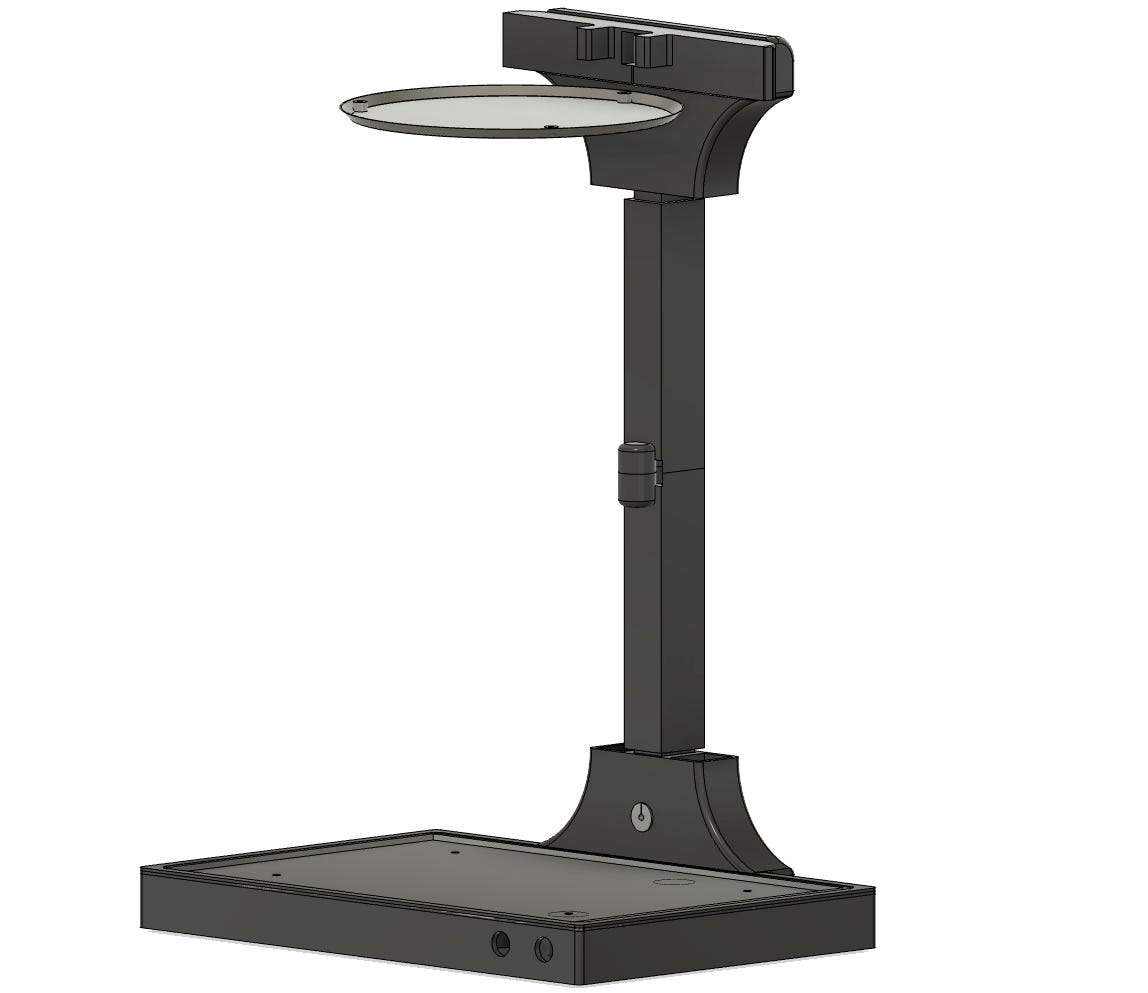
The most challenging part of this lampshade was making it so I could attach it to the rest of the lamp. I found a 3D model of a Mac mini and that helped to make a press-fit piece that fit into the back.
I’m going to do something different for this article and project. instead of putting all the artifacts in different places, I’m going to package it up and put it on Git Hub.
Here’s the link that contains the 3D models, the STLs, the electrical design diagram, etc.
3D Printed parts
Again, the link is above for all the files. All of these parts were a total of 9 print beds and took quite a bit of time to print. Most of the parts are printed with basic black PLA, except for the grommets, the feet, and the light diffuser. The grommets and feet were printed in TPU and the diffuser was printed in “Clear” PETG. I put clear in quotes because it’s nearly impossible to print truly clear. This was really thin and provided just enough diffusion to make it so you couldn’t see the individual LED strips inside the Mac mini.
Links to filament used
Joining Wood and Plastic is Hard
If I could do this whole thing over again, one thing I would change is the order in which I created these pieces. I’m sure you saw in the video that I created all the plastic parts and then attempted to make the wood exactly right to fit. One thing that didn’t make the cut of the video (unless you can find the editing mistake I made) is that I essentially had to cut the joints and the rounded edges of the wood pieces twice.
The first time, I rounded the edges and attempted to cut the joints. unfortunately nothing fit. I adjusted a small amount and did the whole thing again.
So what I would recommend is to make the wood pieces first. After getting them close to the same, measure them and print the plastic pieces to the correct dimensions to fit the wood. This would have made the process much easier and also less time-consuming.
Another interesting bit that didn’t make the cut was that this is not really one piece of Walnut. All I had left was two pieces of wood and they were both a little too thin. I glued them together to make one larger piece. What amazing to me is that I have stared extensively at the final product and you can’t see where the two pieces come together. It’s pretty amazing how you can take two random pieces of wood, glue them together and they essentially become one.
Making this into a smart device
I had to cut most of this part out of the video since nobody actually likes to watch coding and configuring of stuff unless that is specifically what they are trying to learn at the moment.
The electronics of this were a bit of a hodge podge of leftovers, but it was what I had on hand and it worked out fine. As I mentioned in the video, I used a MOSFET to control the power to the lamp, but a relay to control the power to the magnetic magnifying glass. I could have used two relays or two MOSFETs to make it consistent, but these were the parts I had.
In the GitHub link above, I’ve included the Fritzing file that has the basic design of the electronics. Here’s a picture of the virtual breadboard.
It always looks like chaos on the real breadboard, but it’s really not that bad. In reality, there are two pins on the ESP32 in use. One is to control the relay and the second is to control PWM to the MOSFET. The other two wires are just power and ground for the ESP32. From there the rest of the wires go to the lights and outlets where I attached JST connectors instead of hard wiring everything. This just makes it easier to assemble (and disassemble if necessary).
After all of that was together, I went to the computer and created the config for ESPHome, and uploaded it to the ESP32. The config I used is also in the GitHub repo.
One thing I learned recently (but probably should have realized a while ago) is that you can use ESPHome without Home Assistant. This setup takes advantage of that. If there was no internet or my Home Assistant install was offline, the buttons on the lamp would still work to power the lights on and off.
Electronics parts list:
Wire - sorry, no link. I just used a random spool (also Brad’s)
If you got this far, thank you! Please leave a comment if you have one. I know that the videos are short, and these writeups are long. I wonder if I could make the videos longer, but the youtube algo is brutal.


